Customer Type:
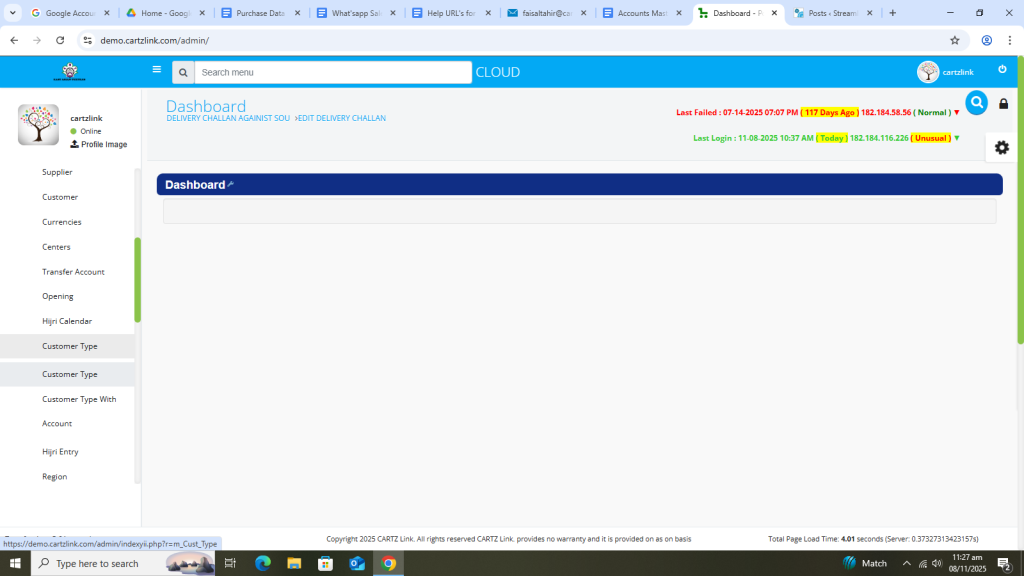
This feature is used to create different types of customers in the system. Go to Accounts, then click on Master Entry. Now click on Customer Type and again click on Customer Type.
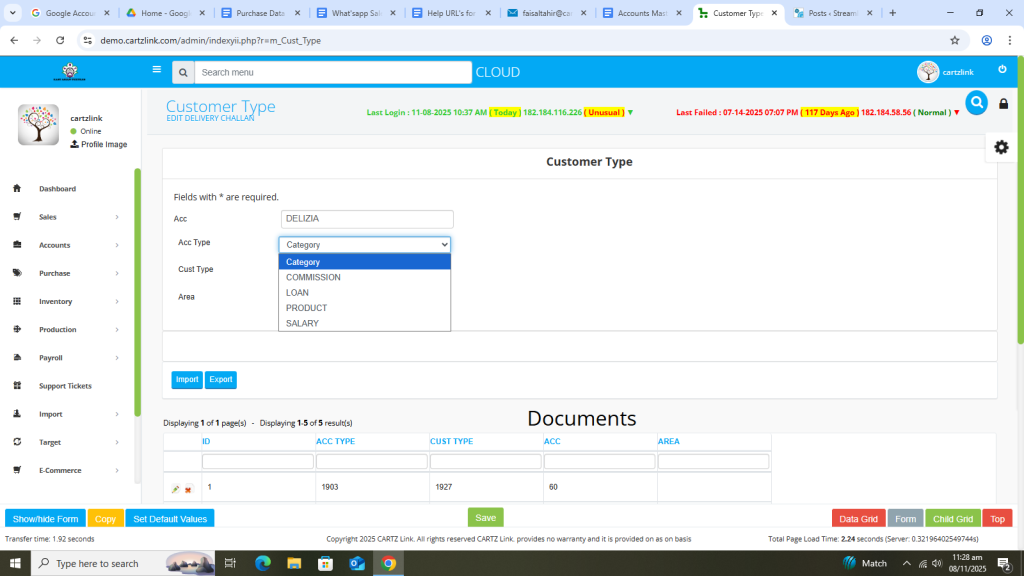
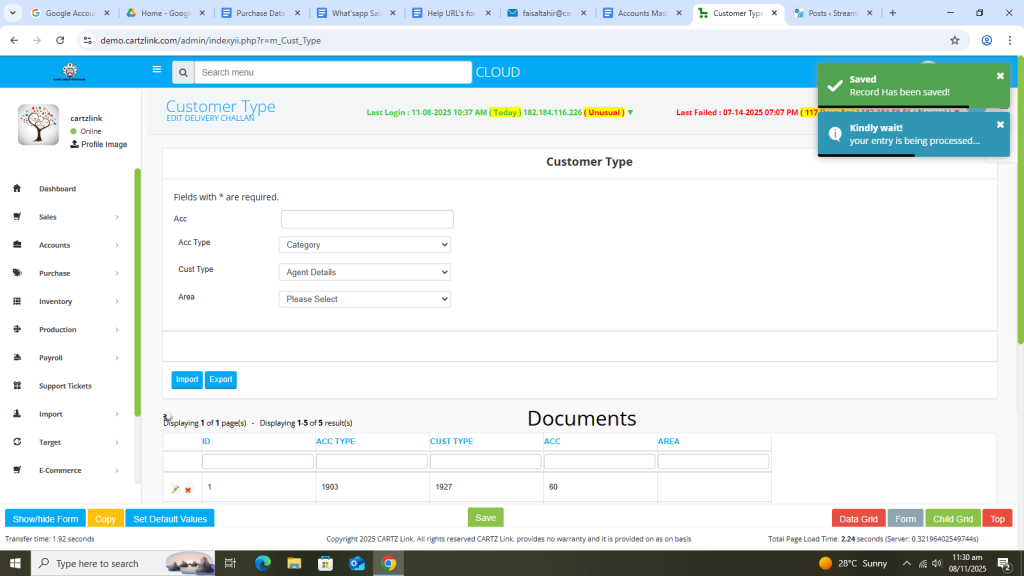
The following page will open as shown in the screenshot below.
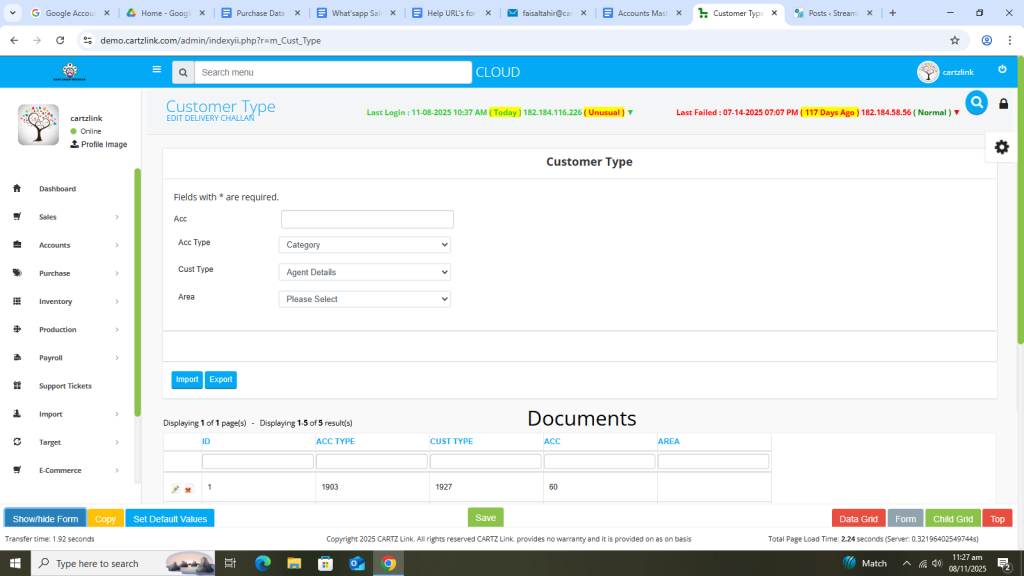
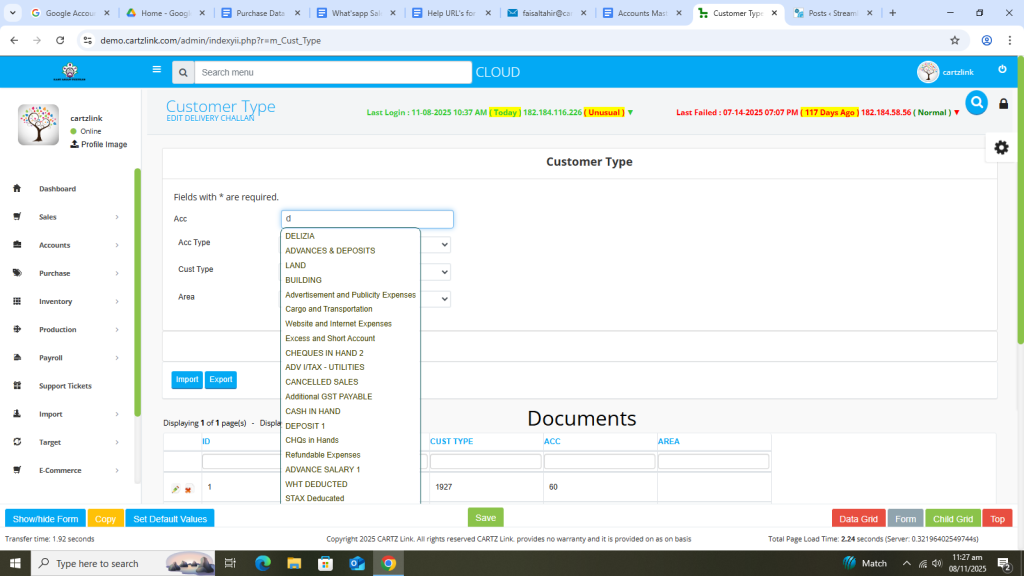
First select the Account.
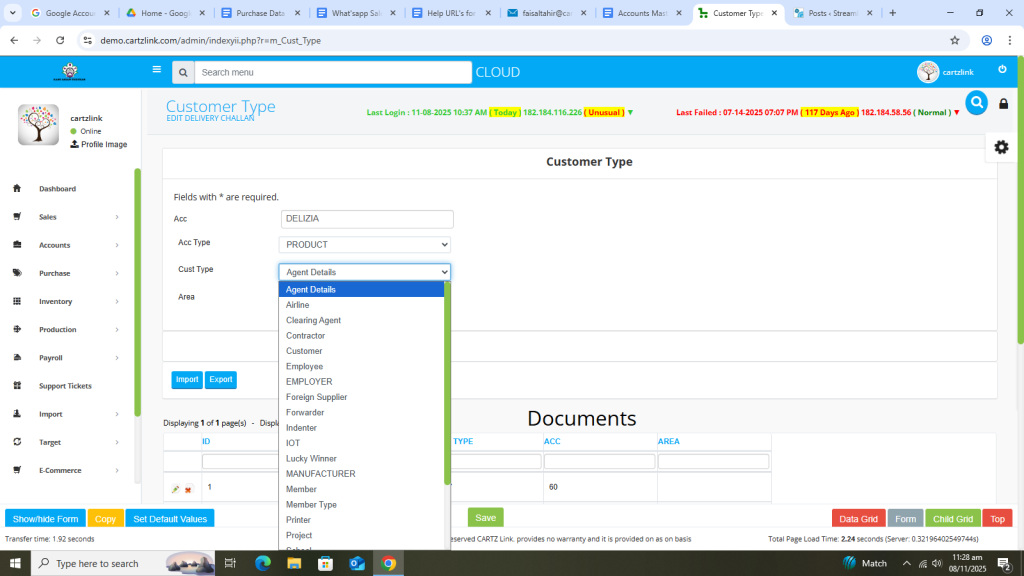
Now select the Account Type.
Also select the Customer Type.
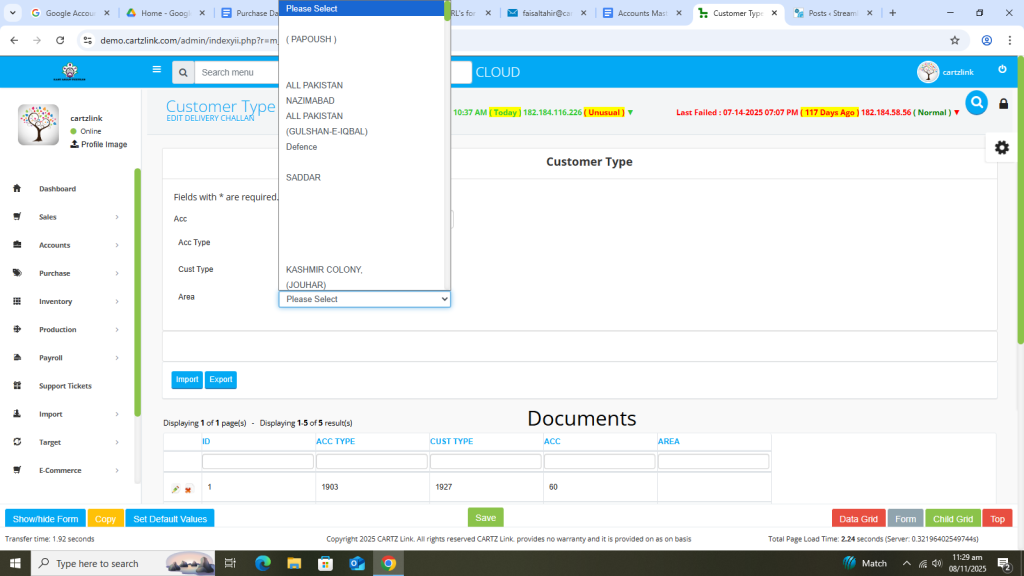
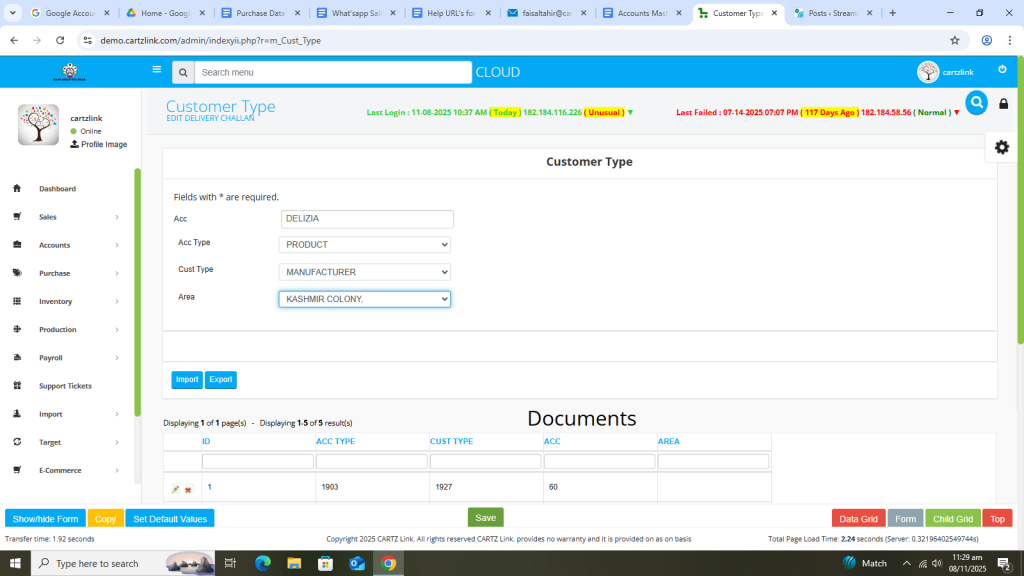
Finally select the Area.
Once all information is completed, click on the Green Save button at the bottom.
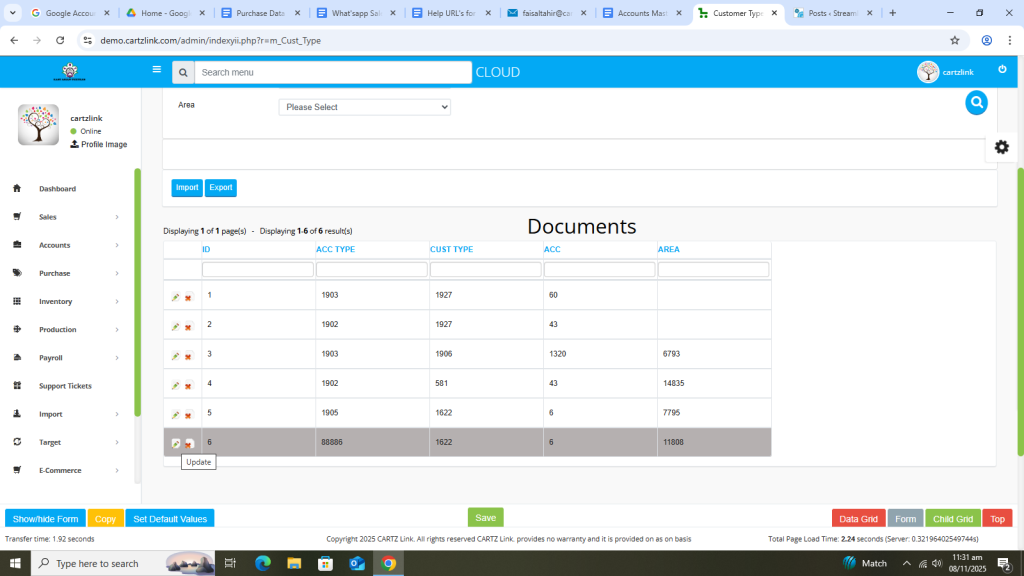
Your record has been Saved.
You may edit it by clicking on the update button against this record.