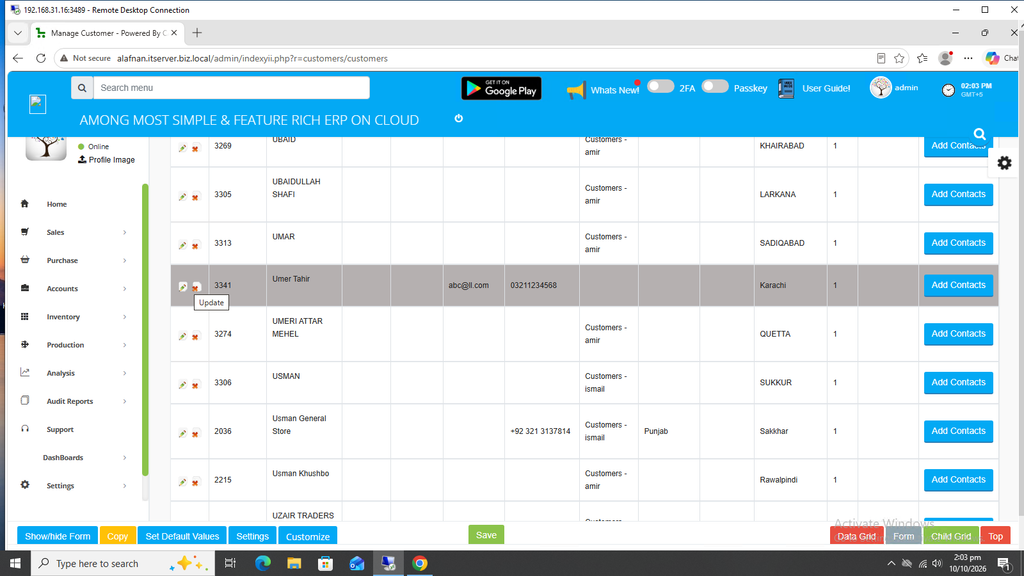
Customer:
Simply you need to add a customer name, gender, City, State / Province and Country and the customer will be created. Also you can add additional information at the time of customer creation such as customer’s CNIC, address, phone number and other contact details. The correct phone number should be added as it is necessary to contact the customer over the What’s app.
The Option to create a customer is available both in Sales Module and Accounts Module.
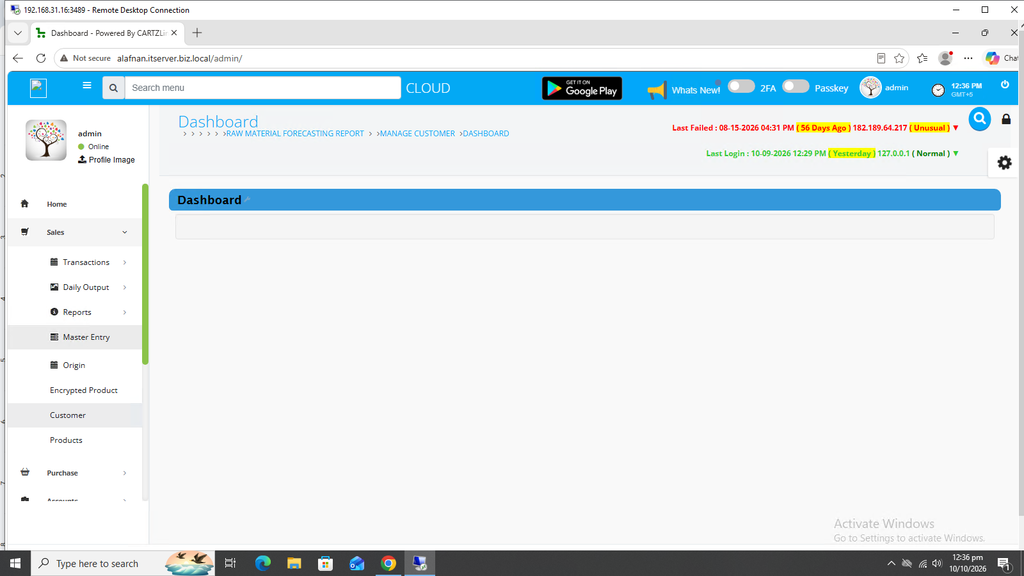
Option 1 through Sales Module:
Go to Sales, then click on Master Entry and then click on Customer.
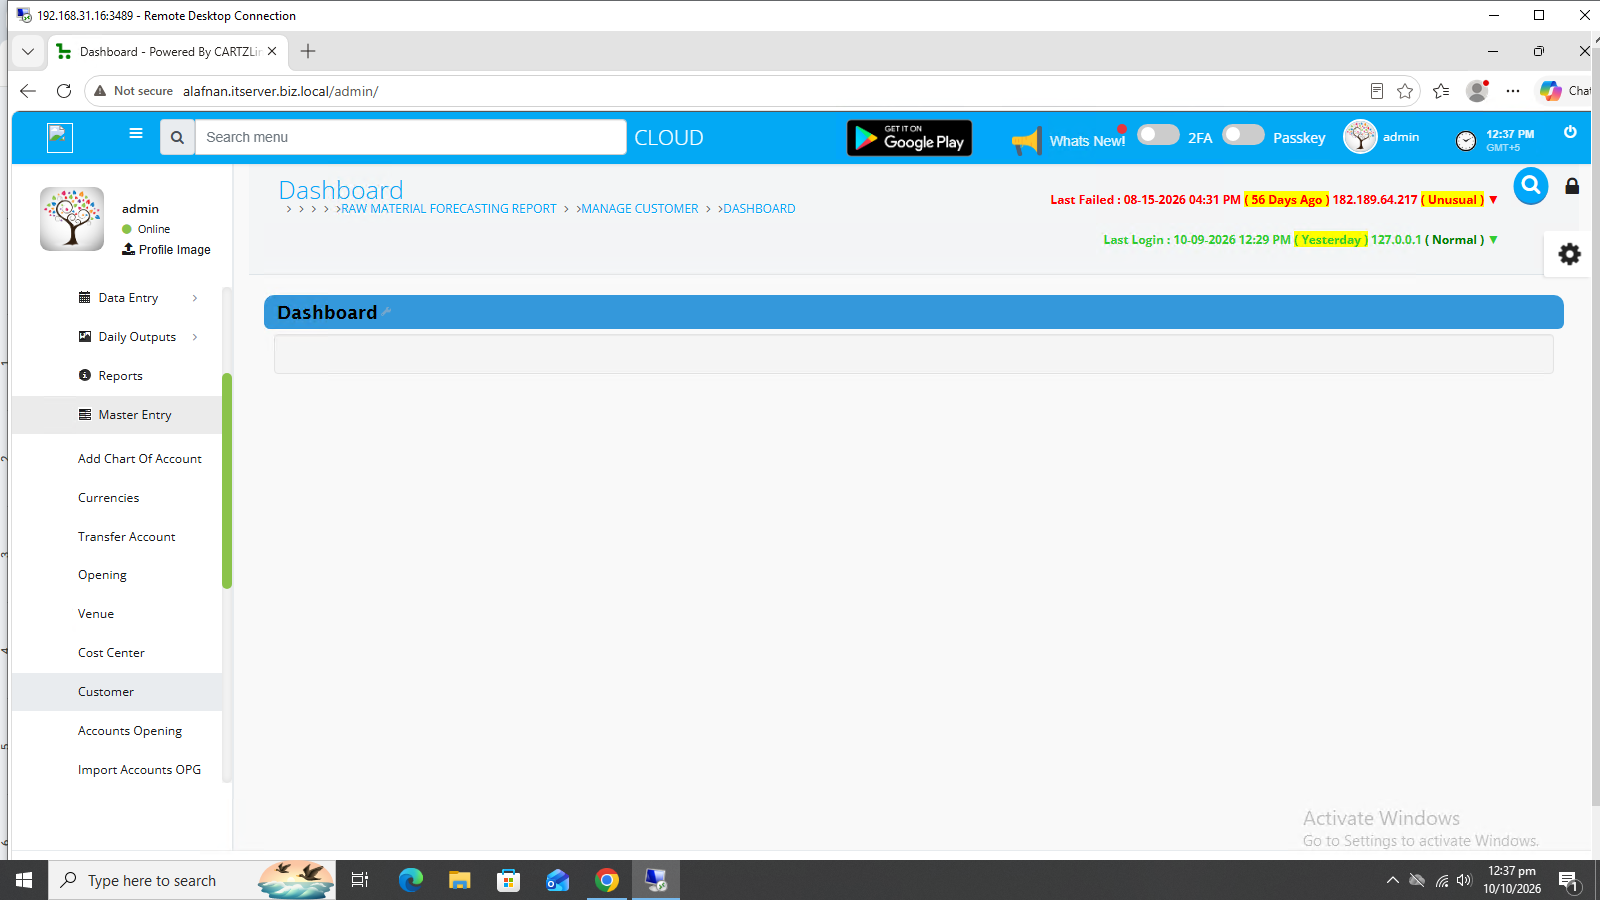
Option 2 through Accounts Module:
Go to Accounts, then click on Master Entry and then click on Customer.
The following page will open as shown in the screenshot below.
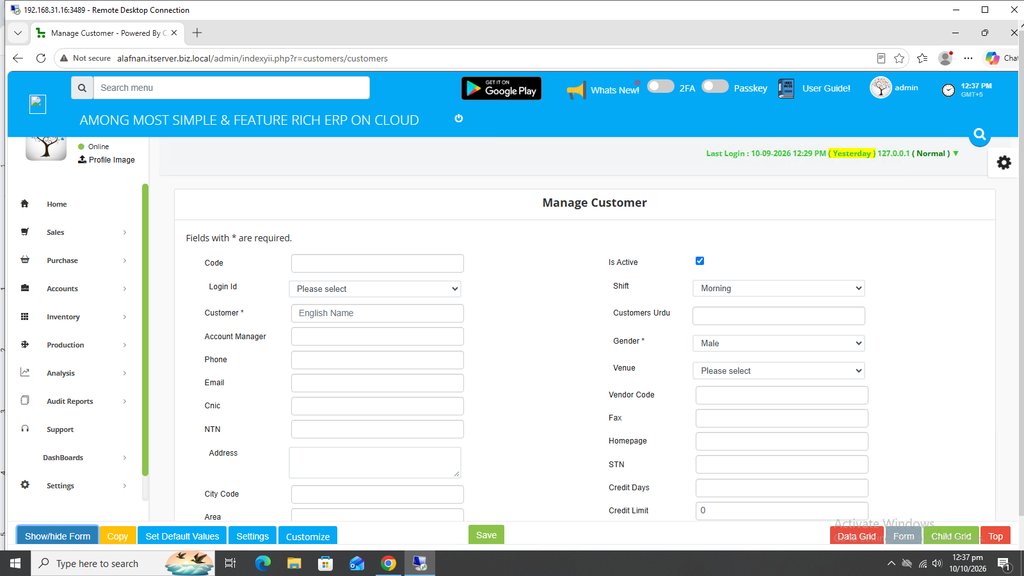
You may enter customer code.
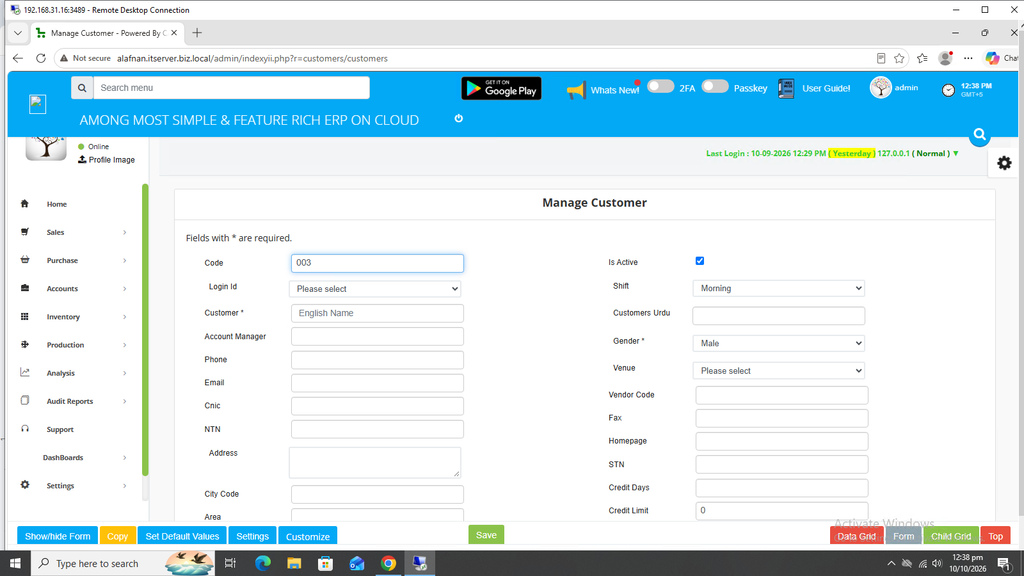
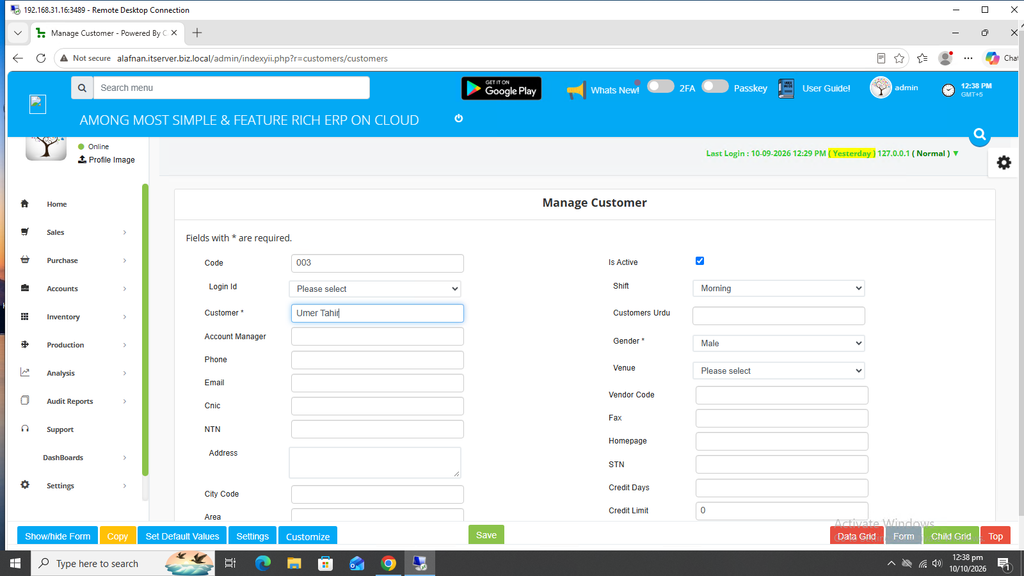
Enter Customer Name.
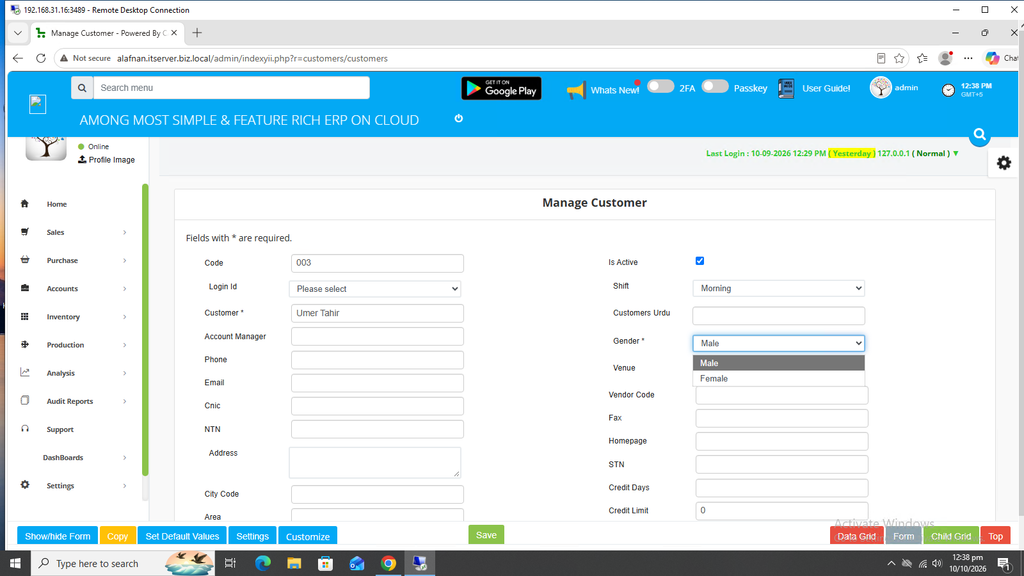
Select Gender. By default Male is already selected.
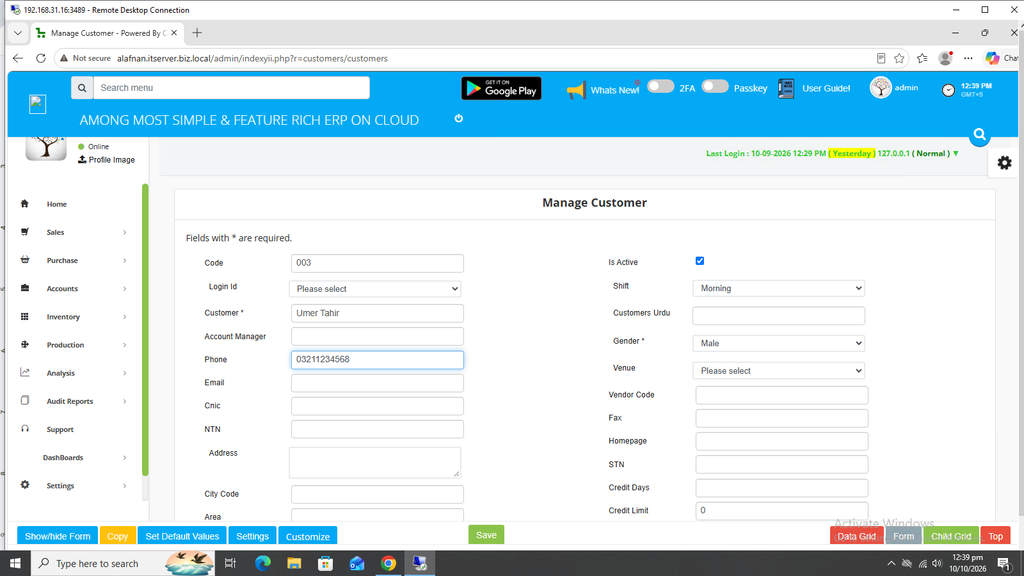
Enter the correct Phone number.
Now input the other additional information such as email address, CNIC, NTN and address etc.
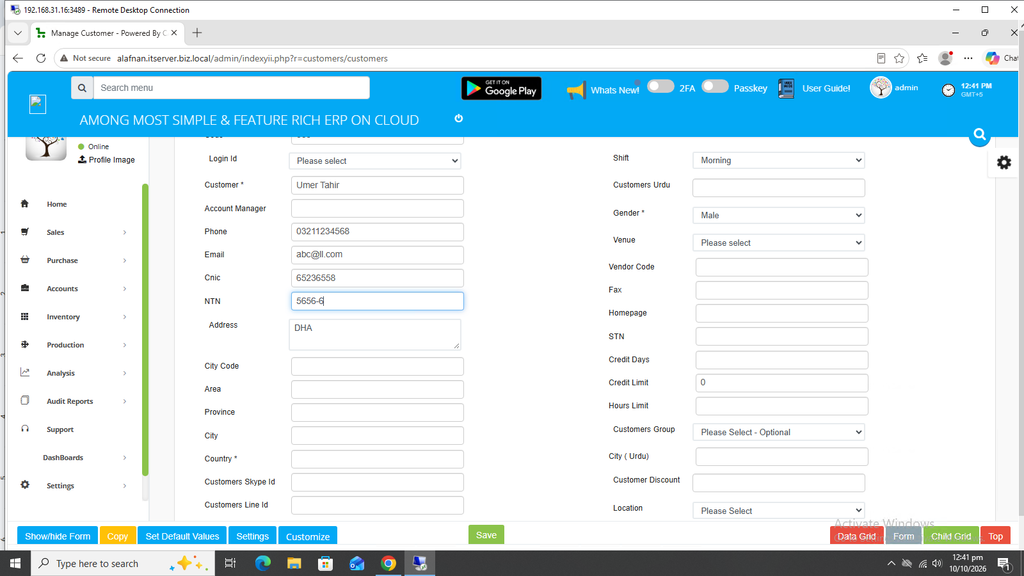
You may also define credit days for this customer.
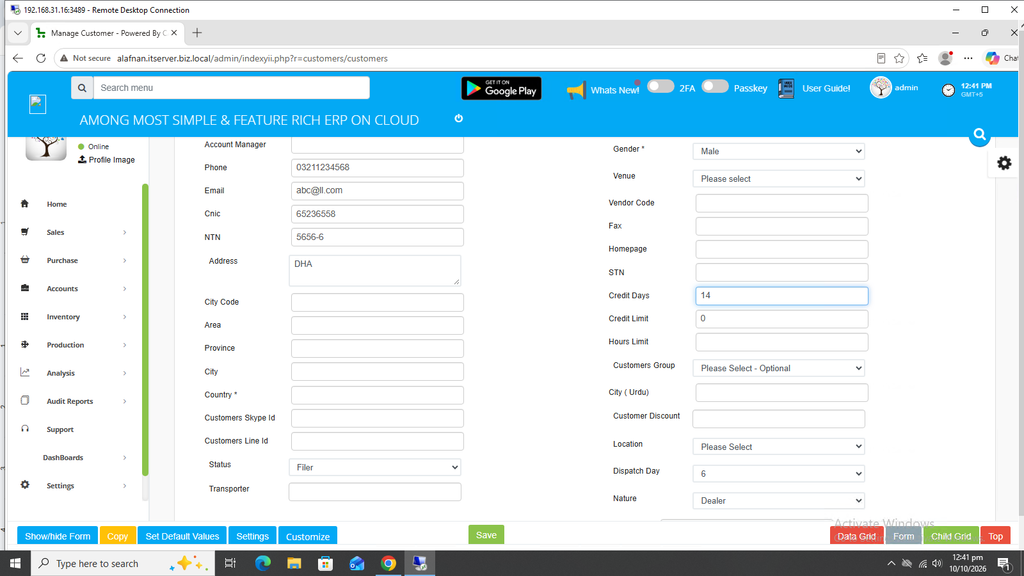
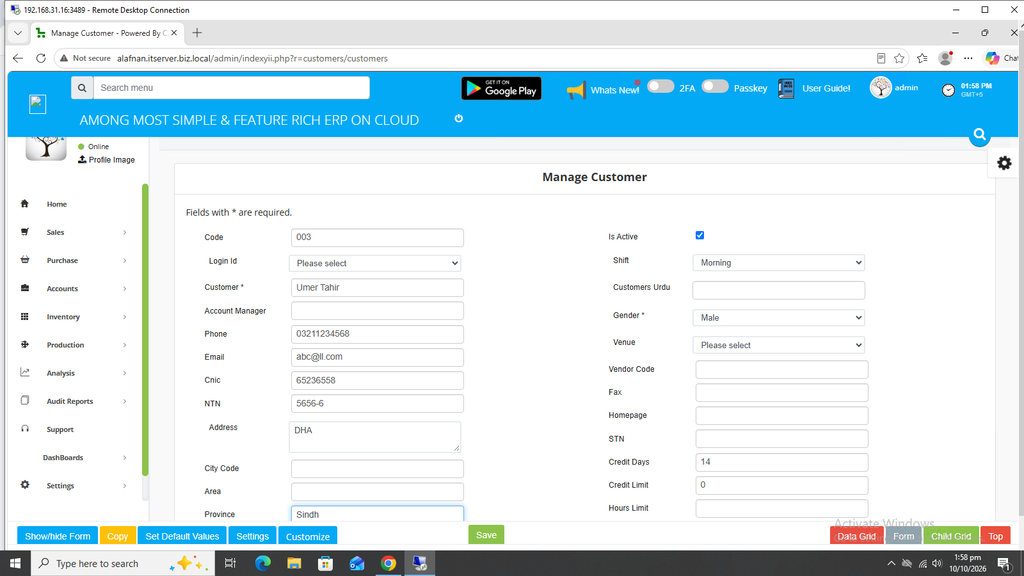
Enter Province Name.
Now enter City Name.
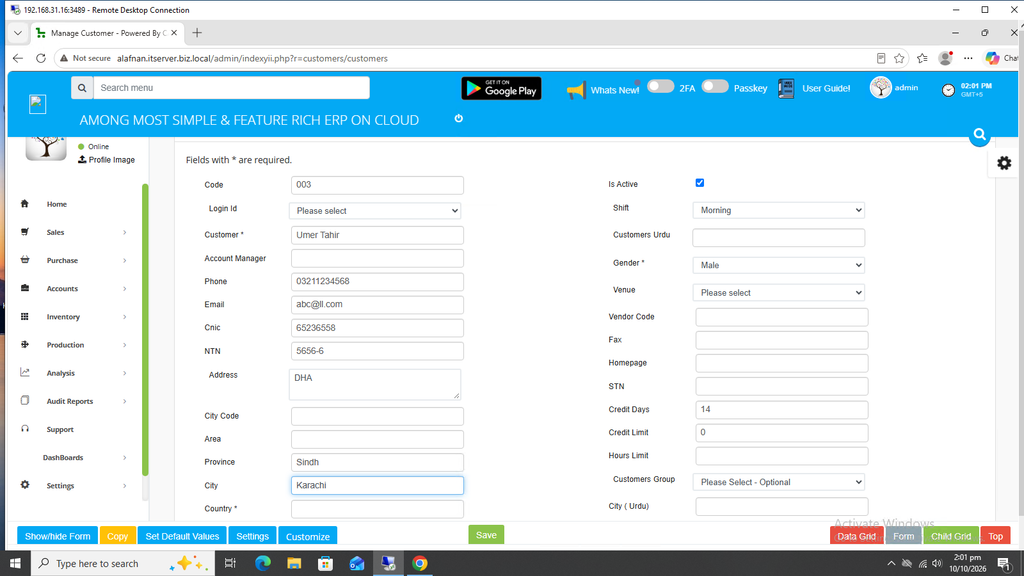
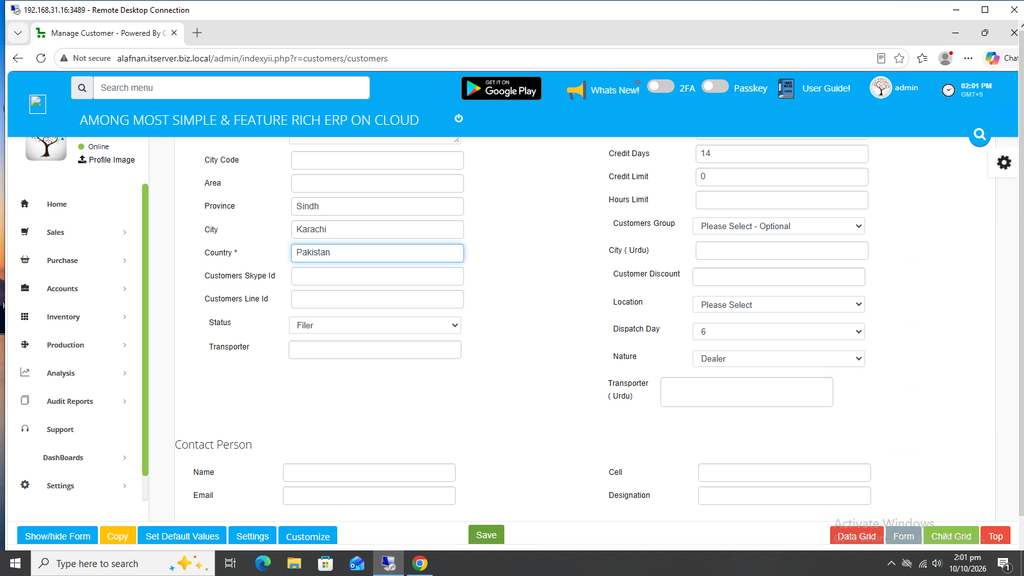
Enter the last mandatory information i.e. country.
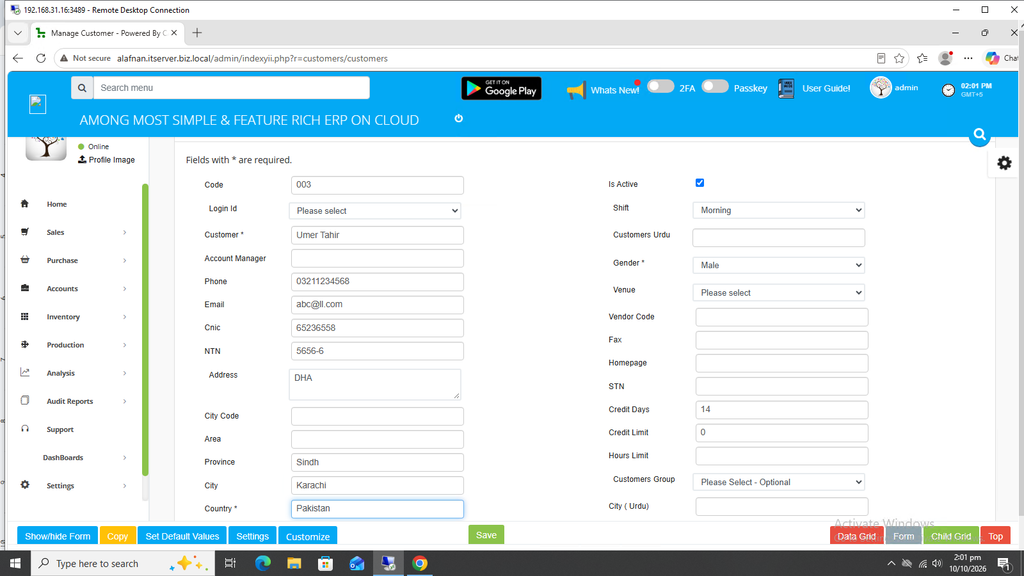
Once all mandatory information has been provided, click on the Green Save button at the bottom.
Your record has been Saved.
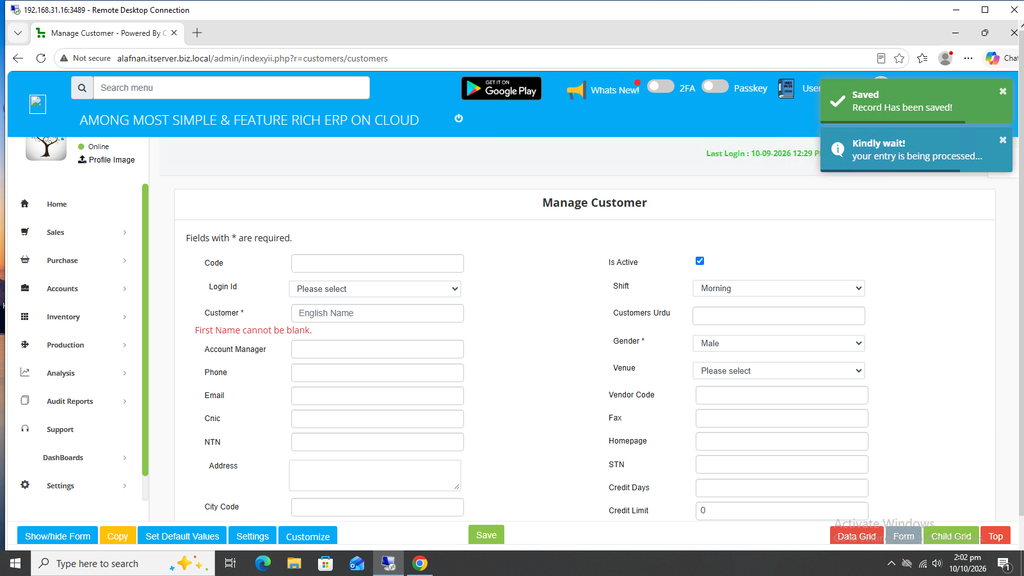
You may edit the record by clicking on the update button against this entry.