Sales Invoice:
The process to create a sales invoice is very easy. Input the required data and sales invoice is created. Main features include that we can define credit terms and discounts in sales invoice. Also tracking of post dated cheques against customers is also available in our system. Similarly, salesman commission can also be defined in sales invoice. Discount on any item can be defined in fixed terms and also on percentage basis. Footers can also show discounts given as a description. Also Cartage can be added whether the product was delivered via Bykea etc and its charges can be shown in footnotes. Go to Sales, then click on Transactions and then click on Invoices.
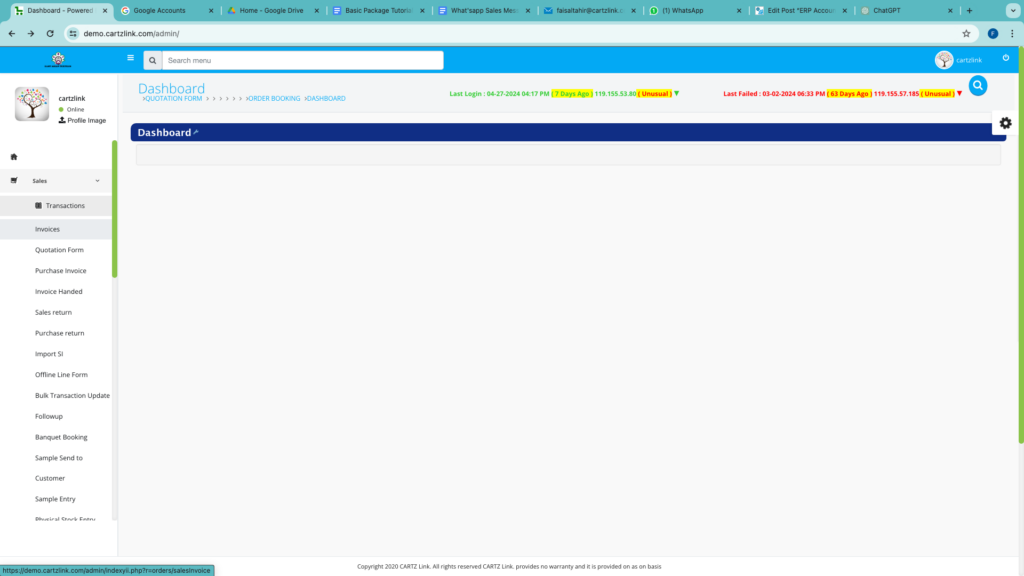
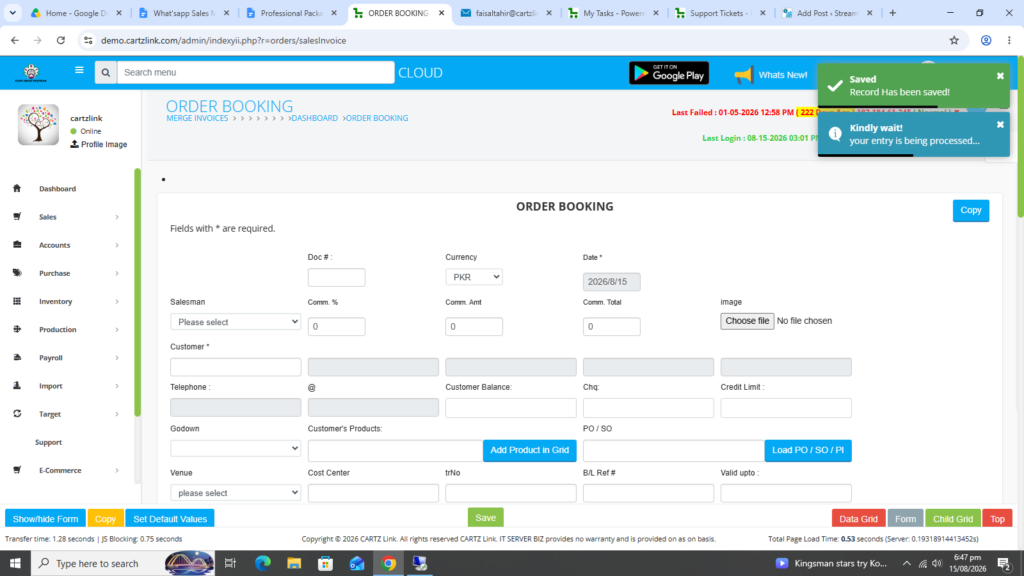
The following page will open as shown in the screen shot below.
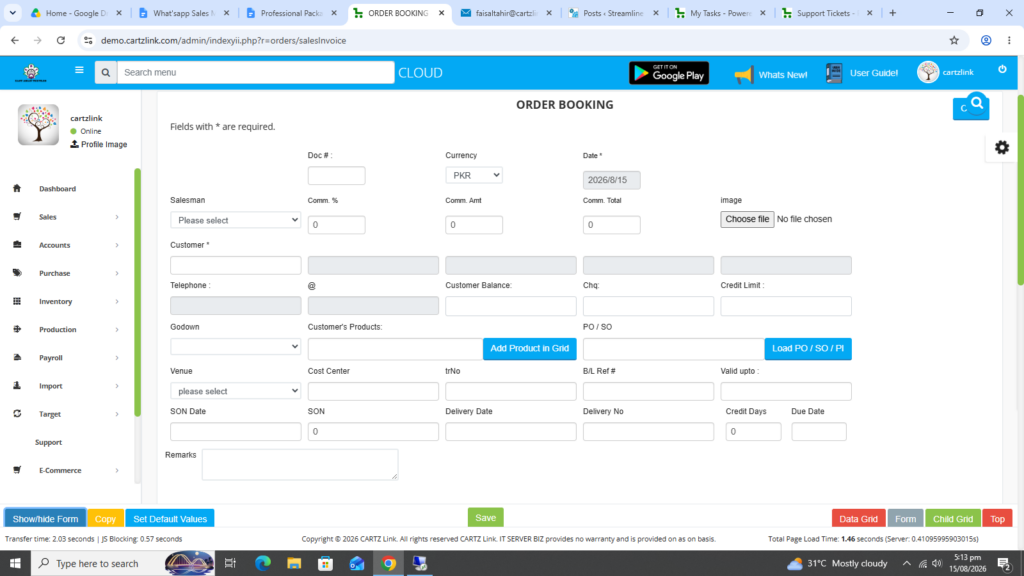
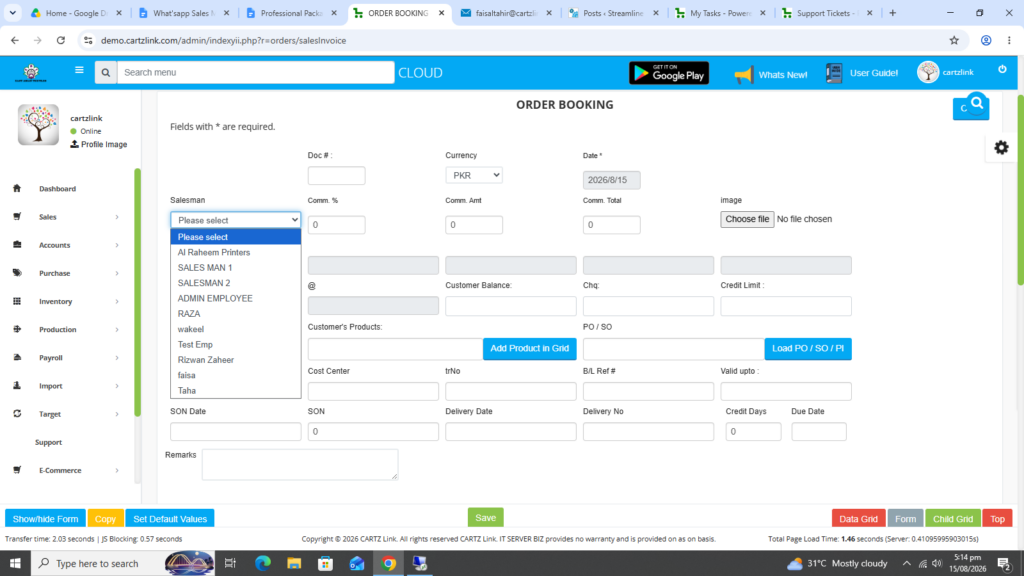
First select a Salesman.
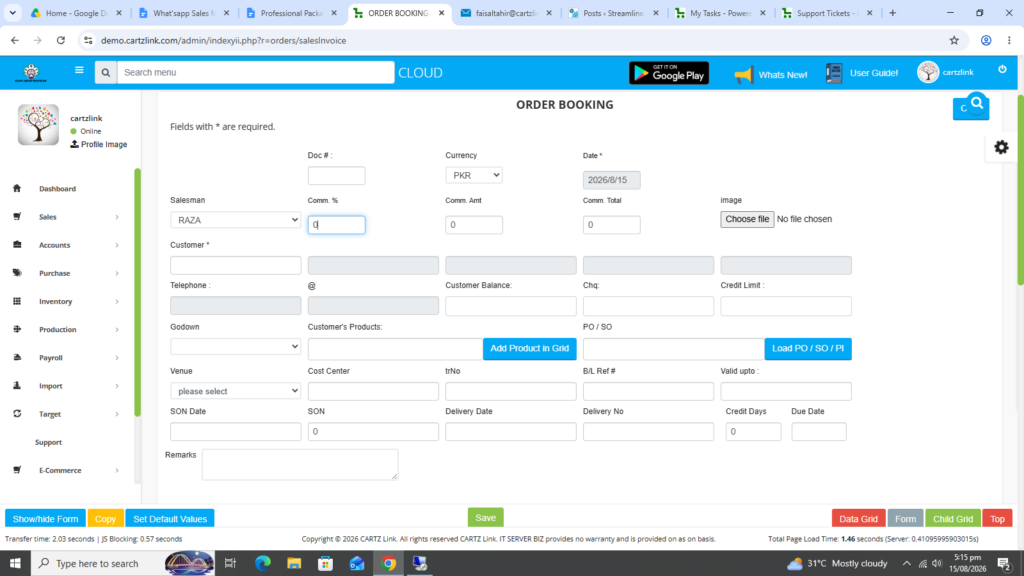
Define commission if required.
Now select the customer.
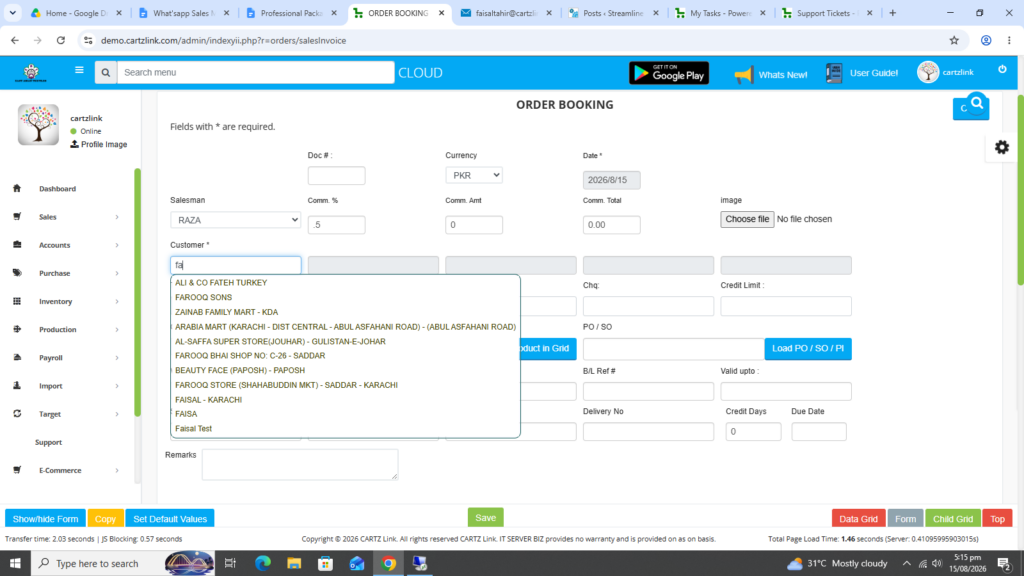
Customer’s current balance will appear automatically.
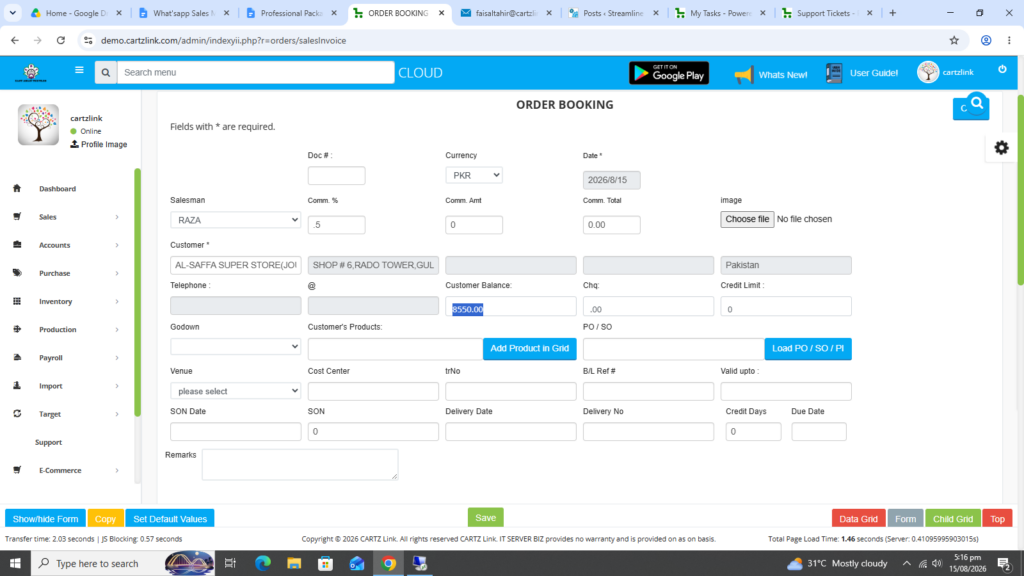
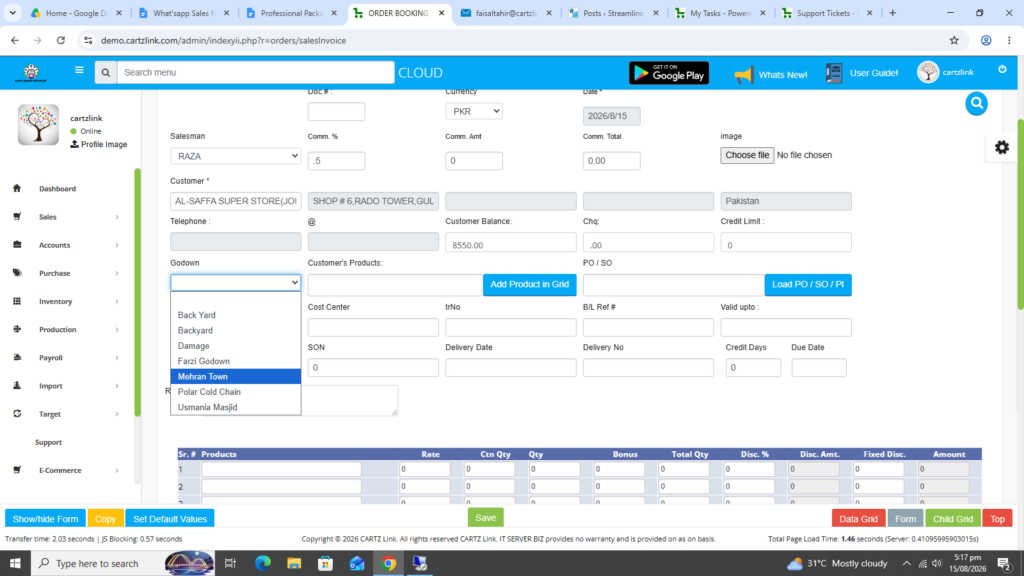
Next select the Godown.
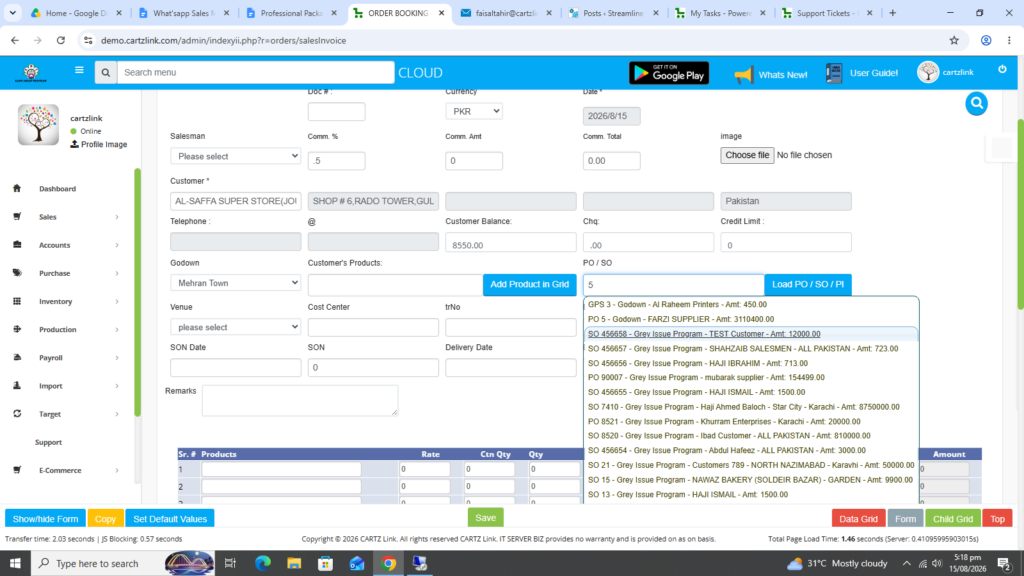
Also there is an option to create the Sales Invoice by loading previous SO or PO. However, in this case we are creating a New Sales Invoice by entering all relevant details.
Next in the lower section select the products now.
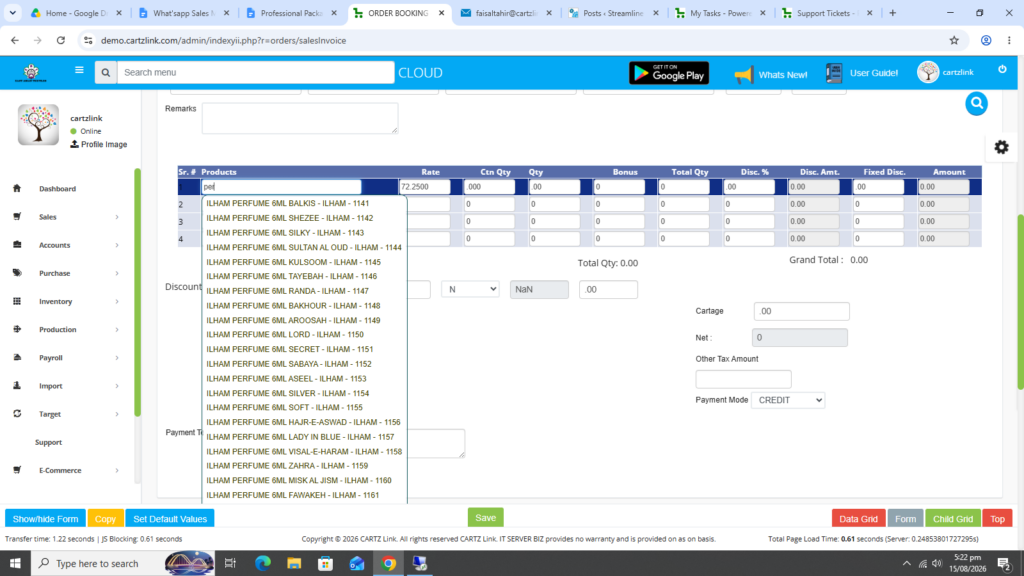
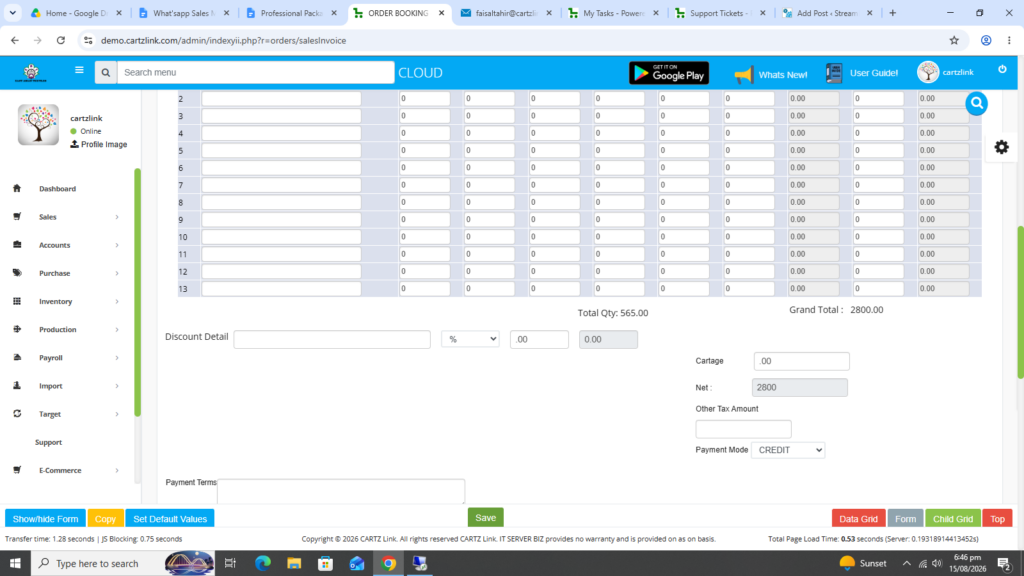
In the Quantity Field, enter the correct quantity.
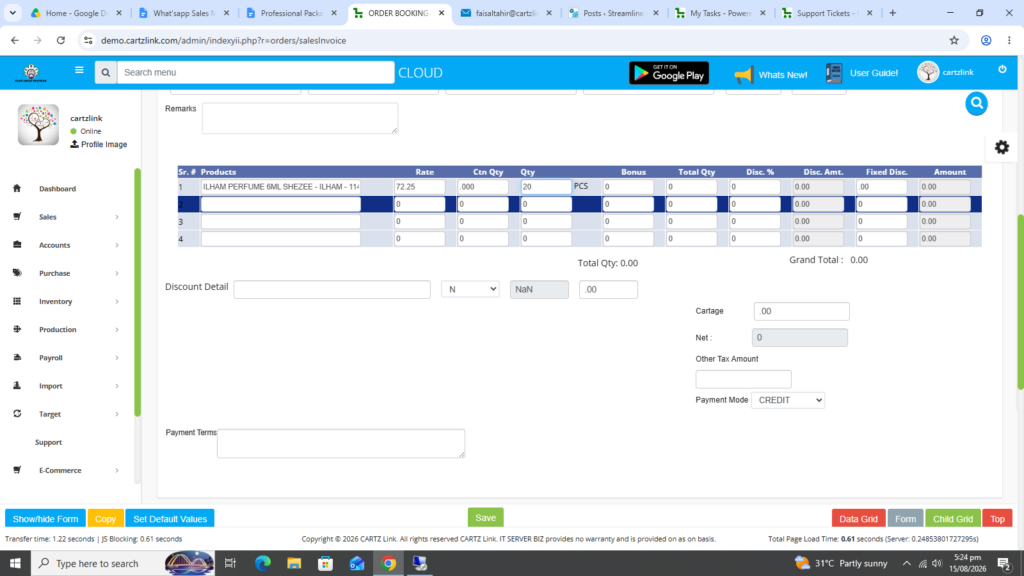
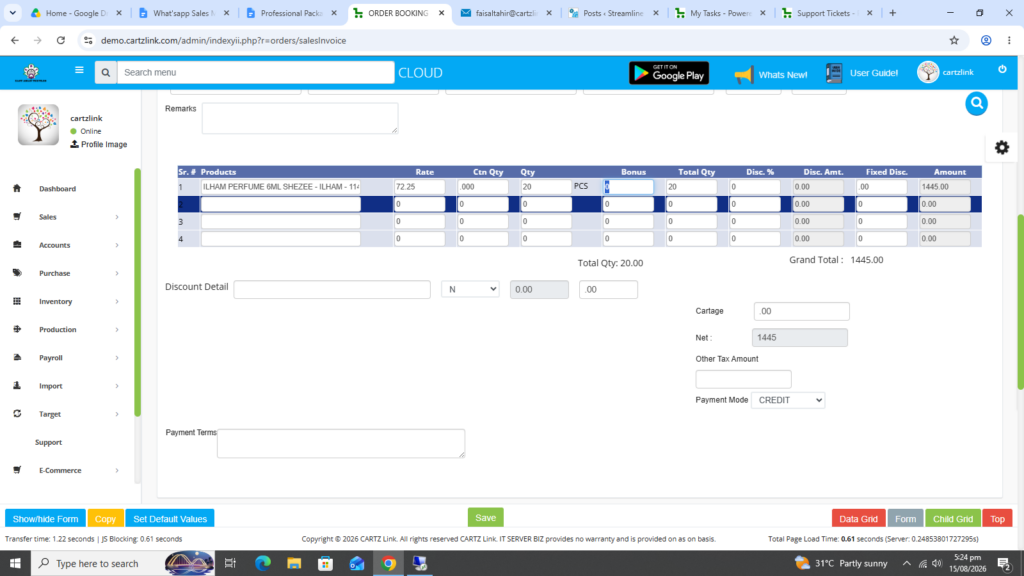
The total amount will be calculated automatically.
You may add another product if required.
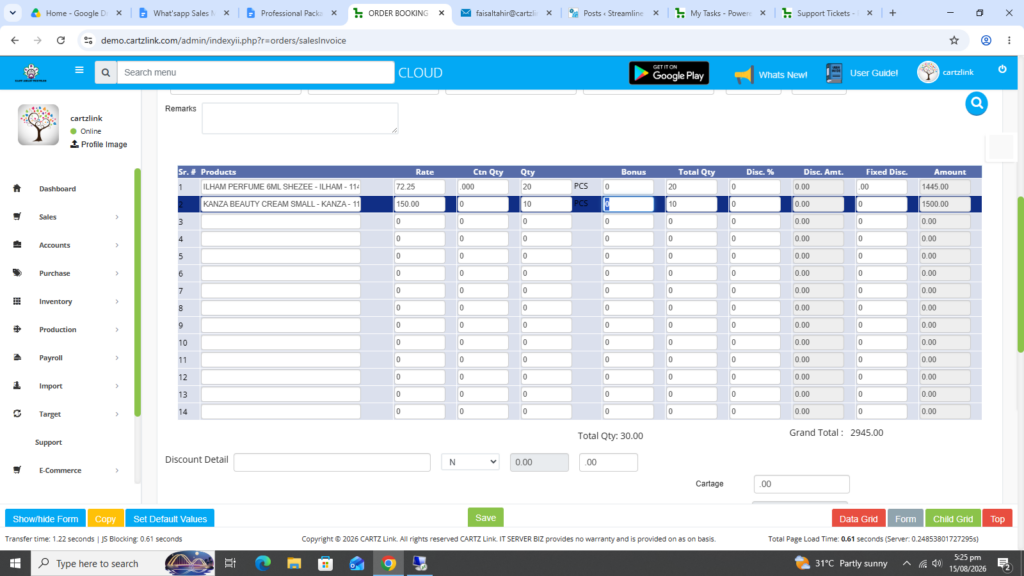
Enter Discount Details.
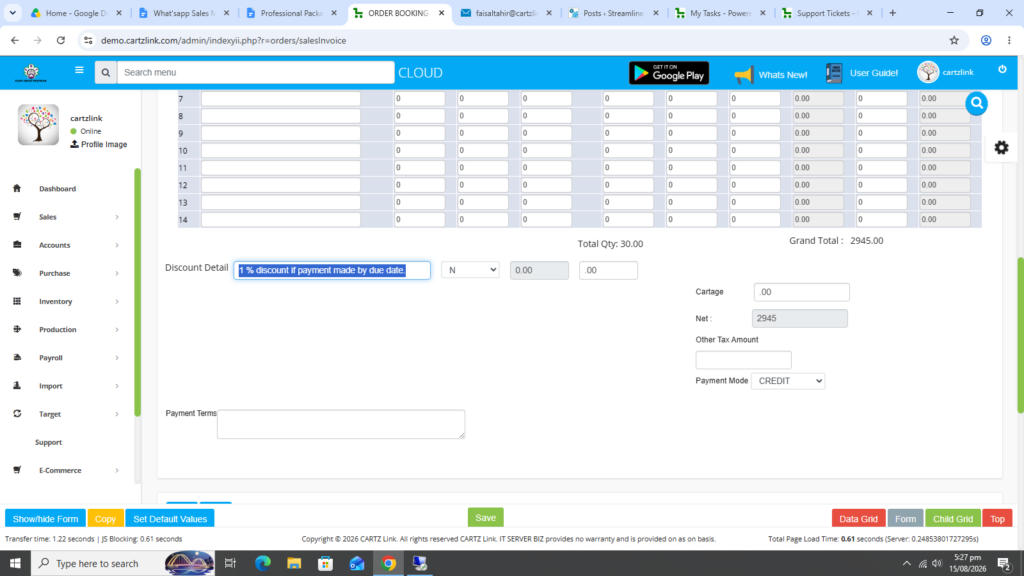
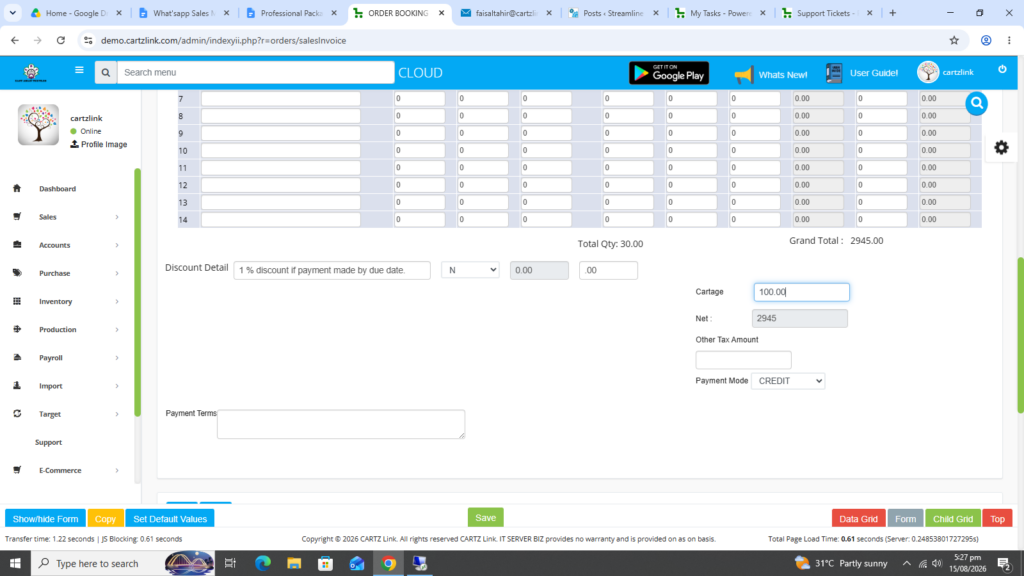
Cartage (Bykea/Yango) cost can be added.
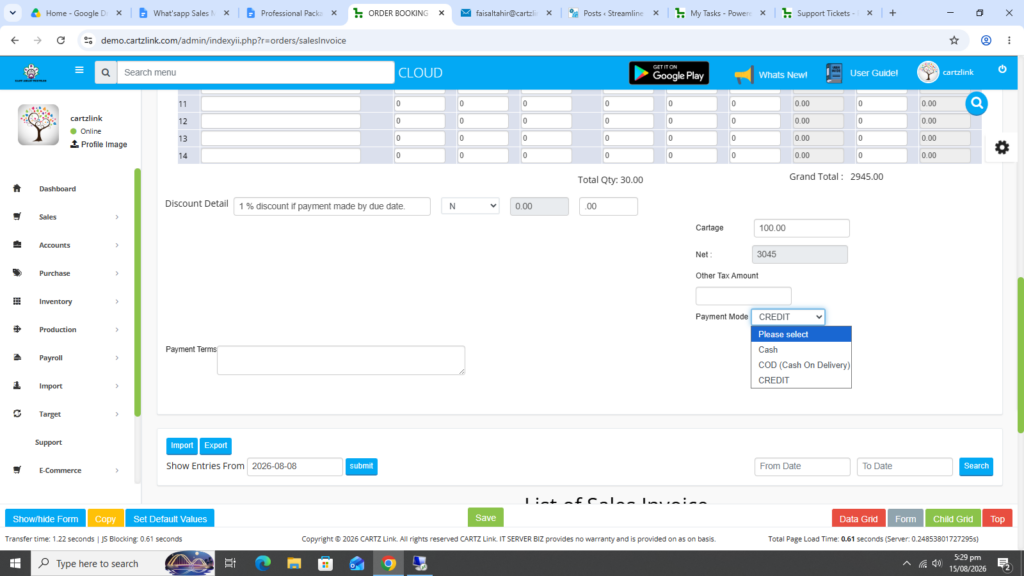
Payment mode option selection is available.
Payment Terms can also be defined in writing.
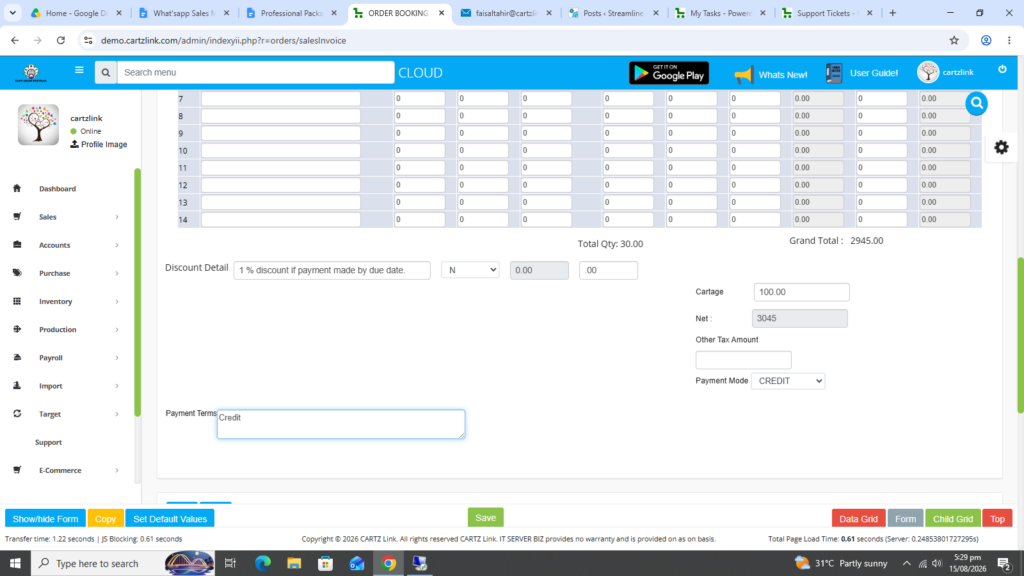
Once all information is completed, click on the Green Save button at the bottom.
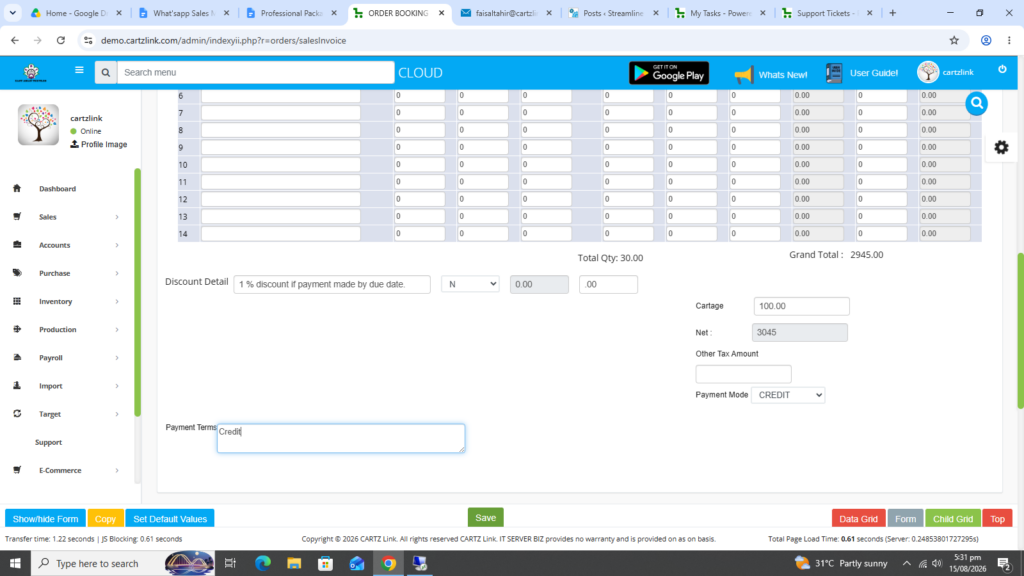
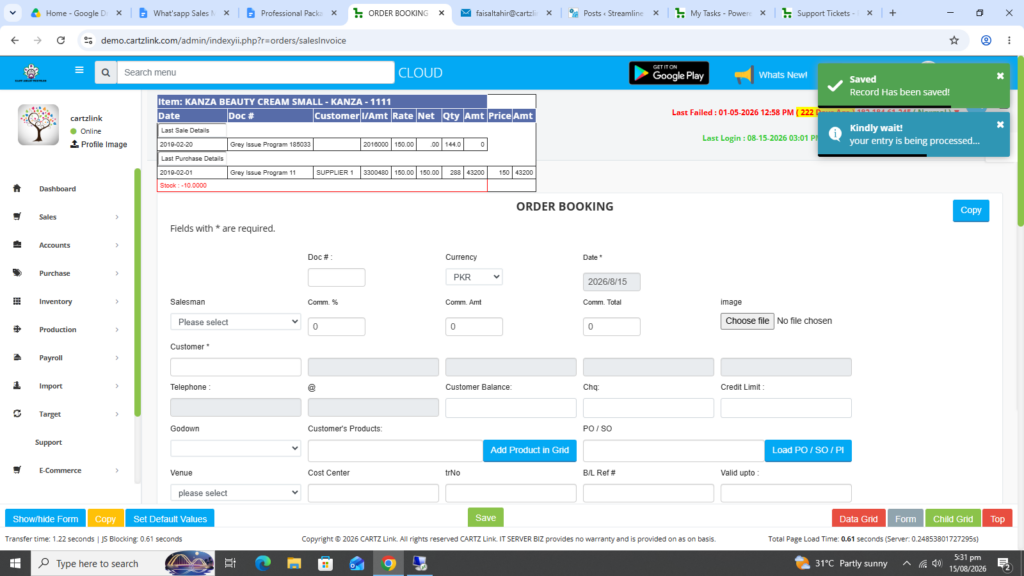
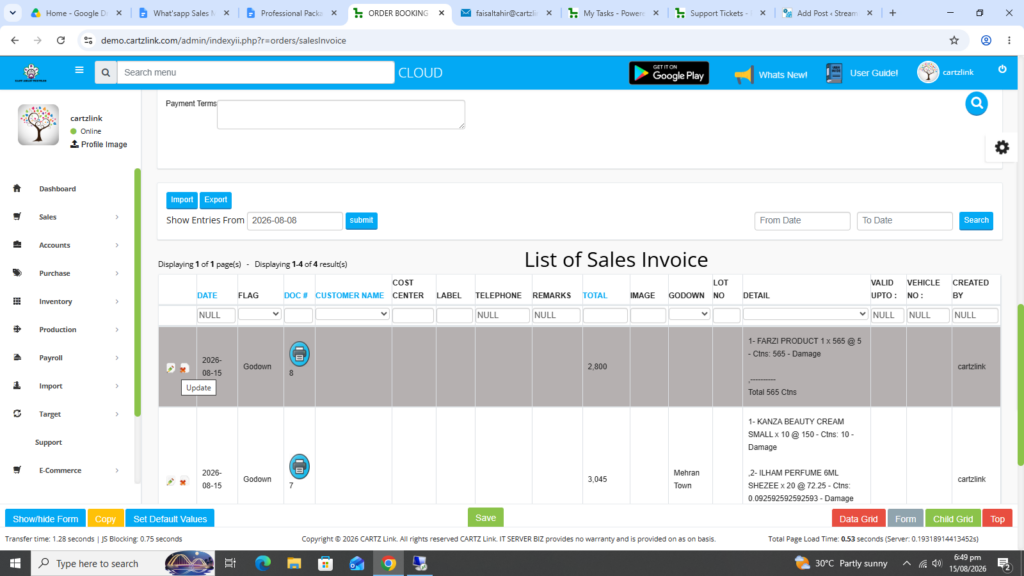
Your sales invoice has been created.
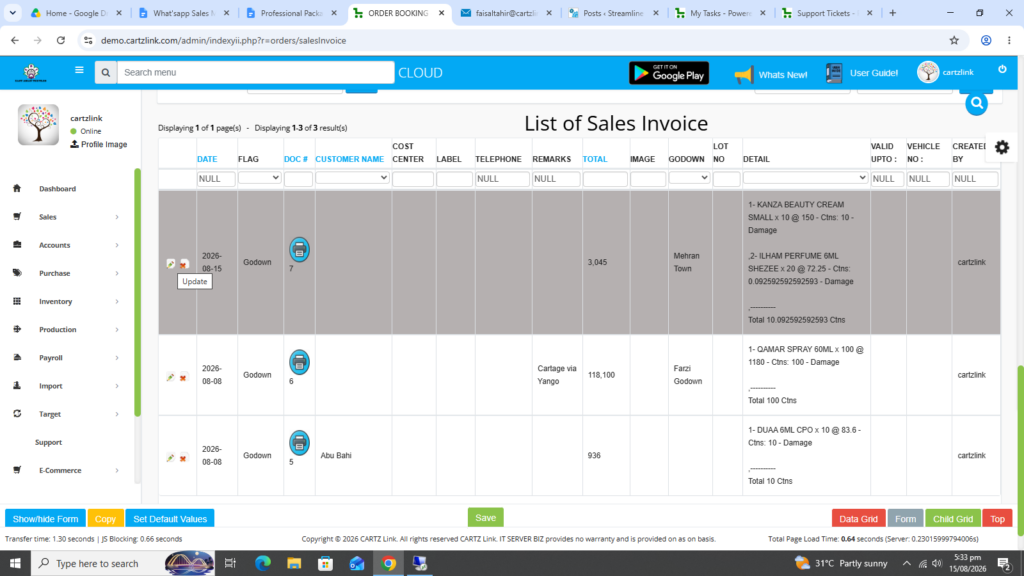
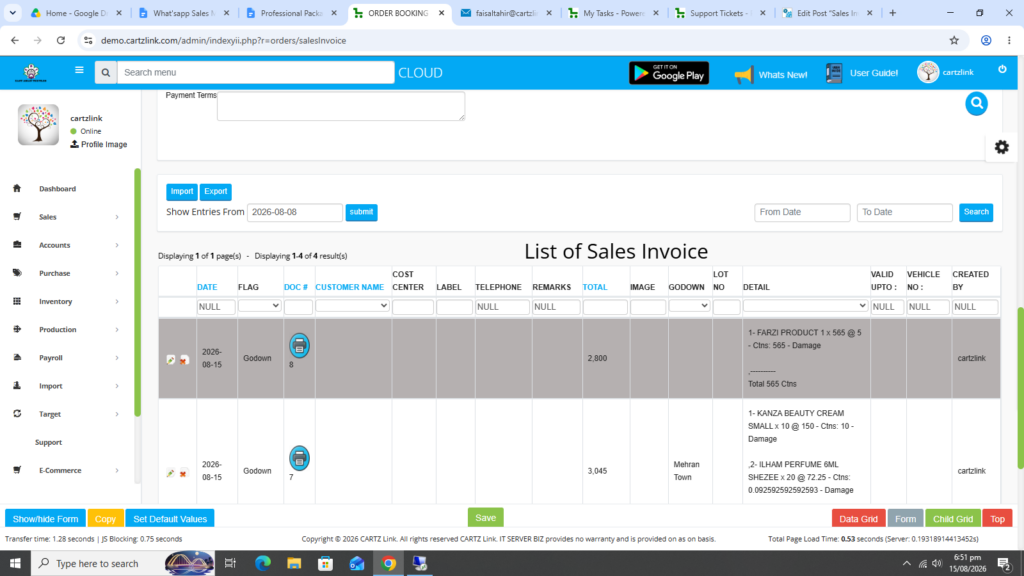
You may edit the Sales Invoice if required by clicking on the update button against this record.
Various Printing options are also available against this sales invoice. Just click on the Printer Icon against this record.
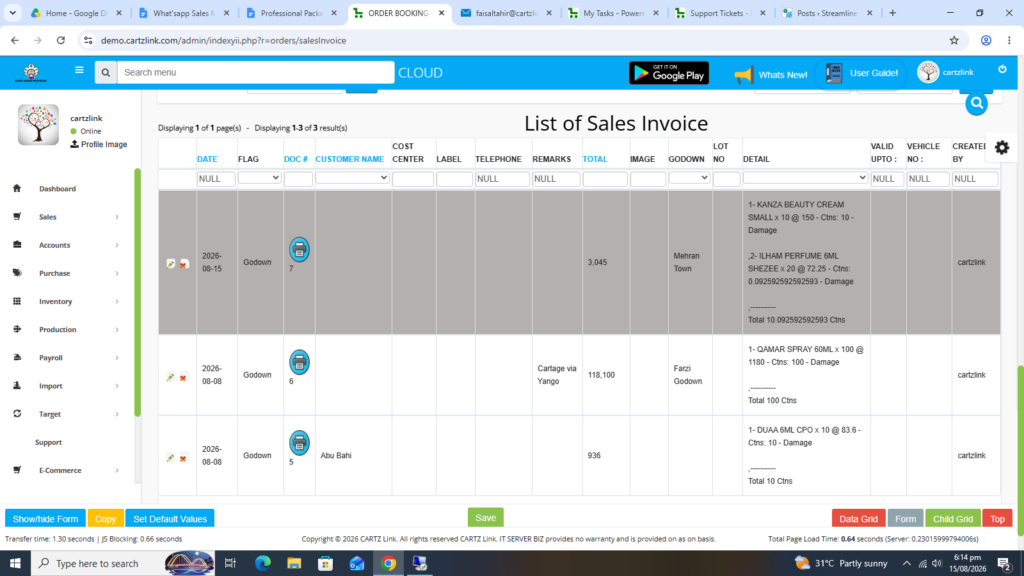
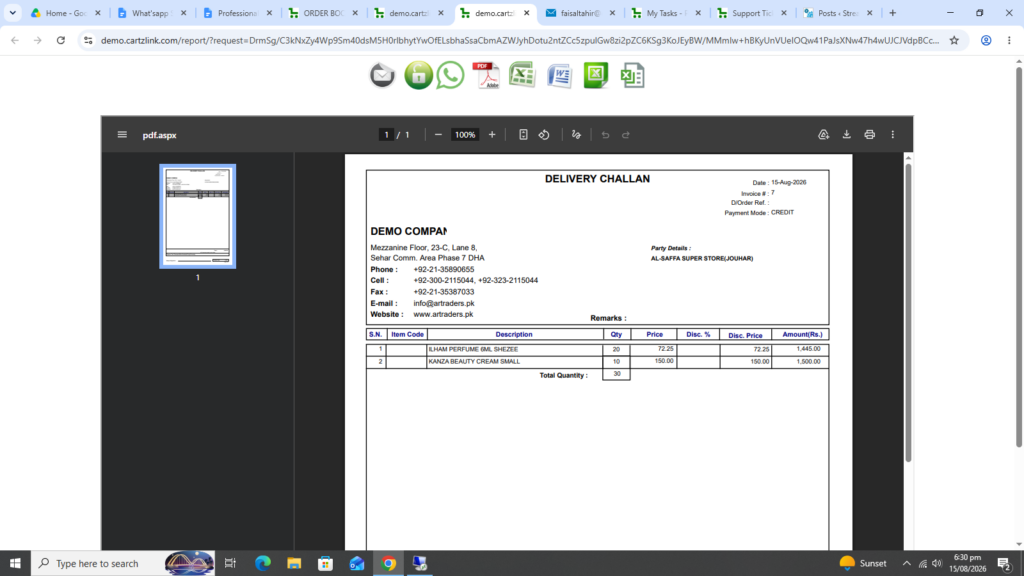
Now if delivery challan print is required then click Print Delivery Challan With Rates.
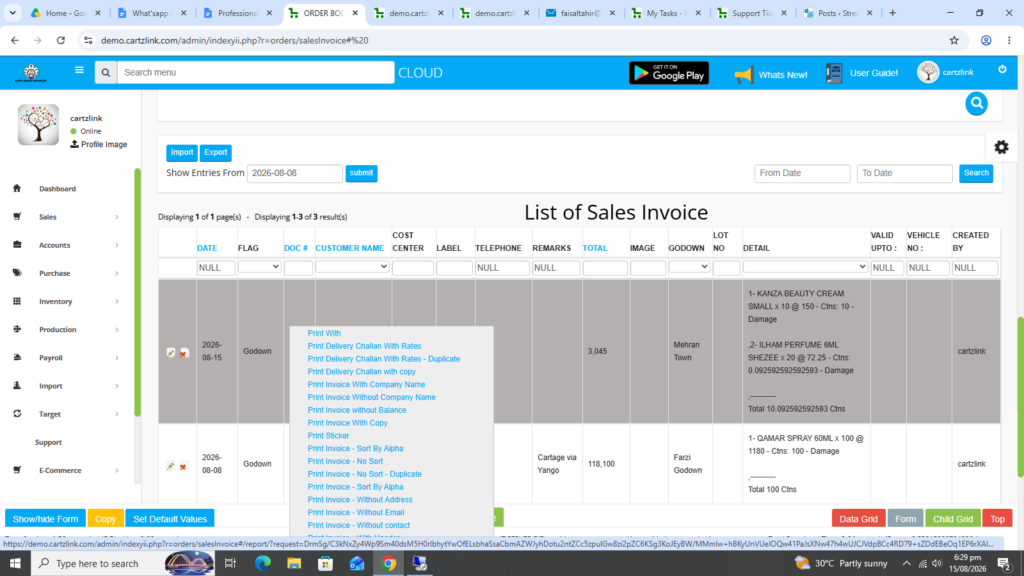
The Delivery Challan will open in a new window with Print / Save options available.
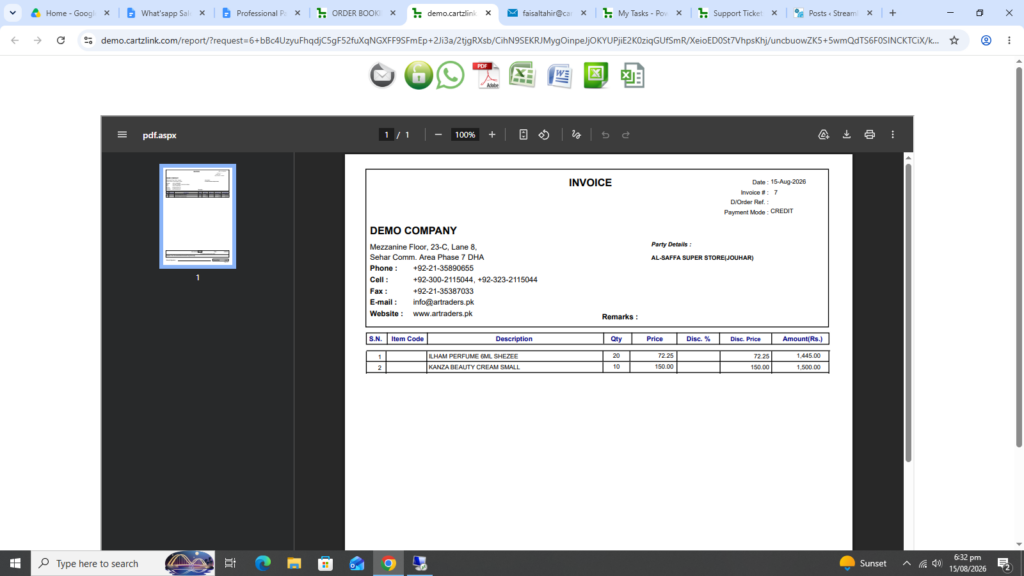
Similarly, if invoice print is required then click on Print Invoice Qty Sort.
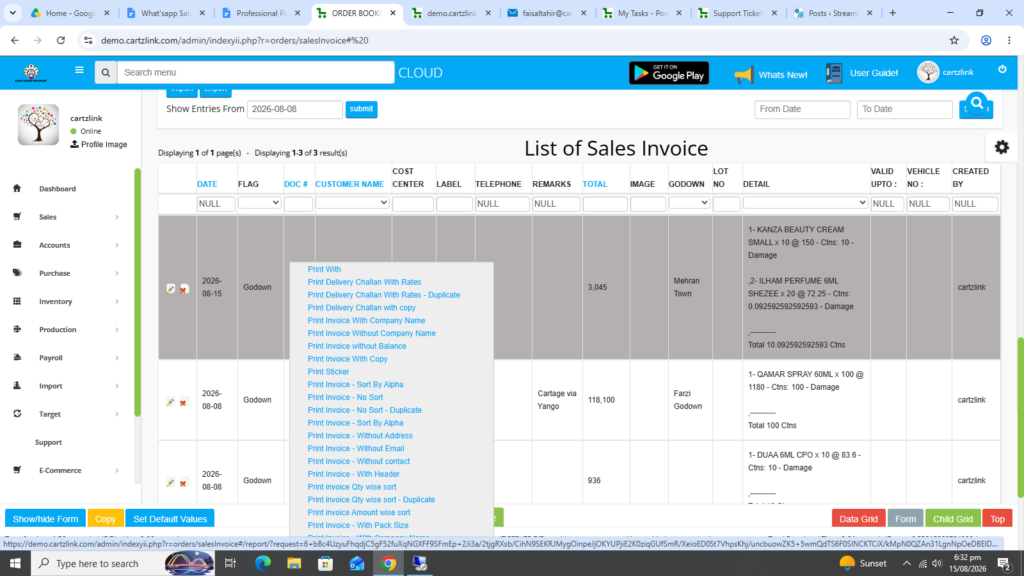
The required Invoice will open in a new window with Print / Save options.
If you need to create the Sales Invoice via previous SO or PO then follow steps mentioned below.
Go to Sales, then Transactions then click on Invoices.
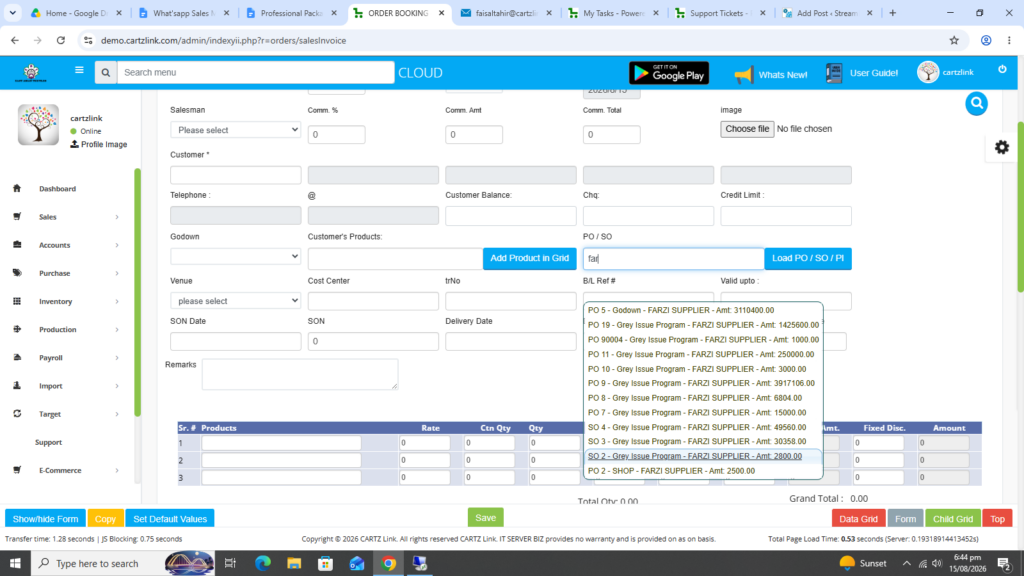
Now against the field of Load PO/SO/PI search and select the previous SO required for Sales Invoice.
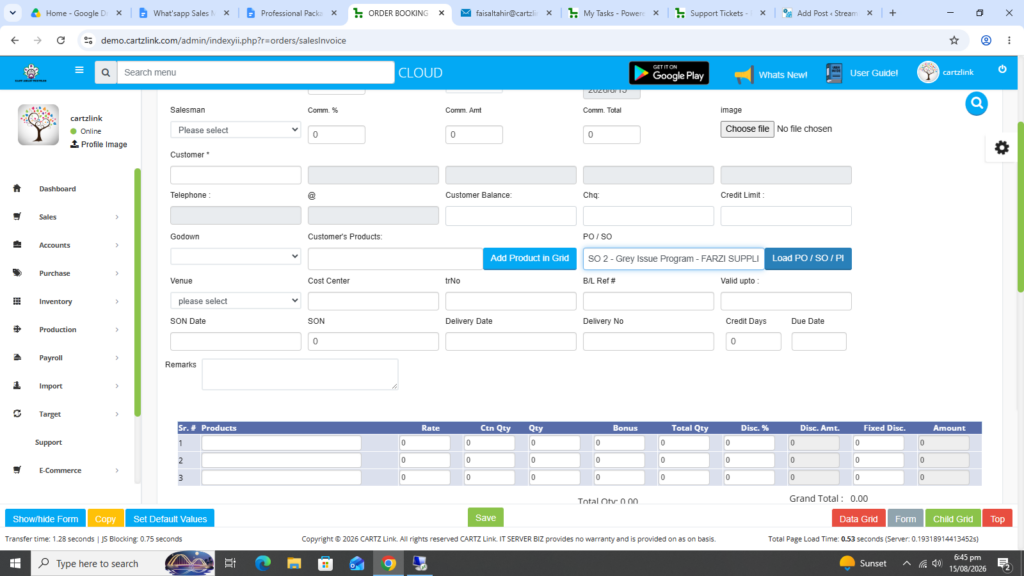
Once SO is selected, click on the Blue Load PO/SO/PI button.
The details against the SO will appear.
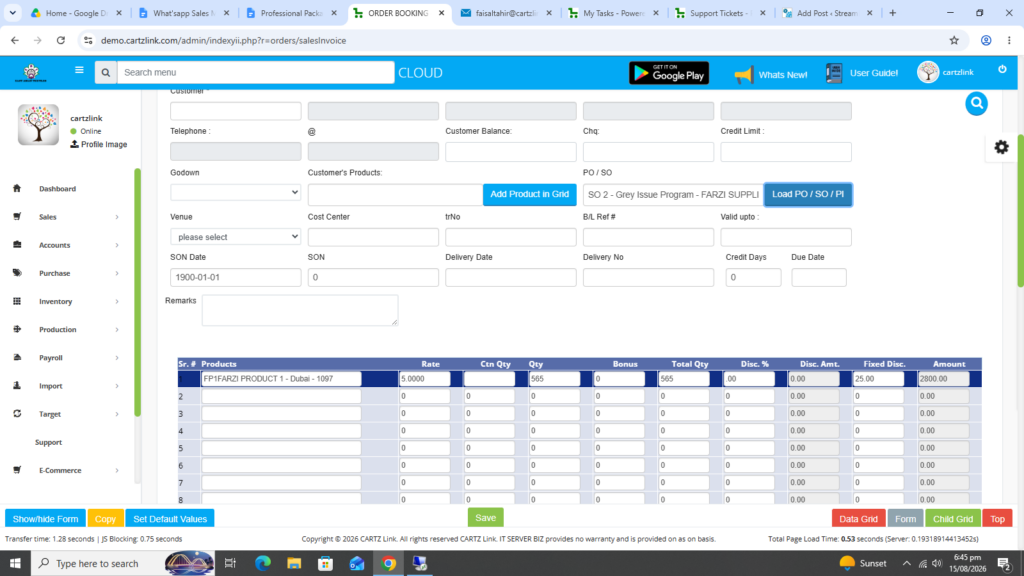
Check and verify the details. You may also add any new information if required. Once all information is completed, click on the Green Save button at the bottom.
Your Invoice against the desired SO has been created.
You may edit the record by clicking on the update button.
Similarly, Print options are available as defined earlier.
The video Tutorial for Sales Invoice creation can also be viewed by clicking on the following URL.